10 Easy Steps for Tomato Growing Success
Who doesn't prefer delicious homegrown tomatoes to the bland, hard ones you find in the local grocery store? Luckily, it doesn't take being a master gardener to produce fresh, flavorful tomatoes in your own backyard! Below are 10 easy steps for tomato growing success.
- Start Your Seeds Early Indoors
Setting up indoors is fairly simple; there are just a few essentials you need. First, you want to get a tray to start your seedlings in. A tray with a water reservoir makes it super easy to give your seedlings the right amount of water. Use a soilless, sterile seed starting mix, such as Wonder Soil, for a healthy start. Keep your soil moist, but not overly saturated. A heat mat helps speed up germination; you want to keep the temperature around 70-75 degrees. Tomatoes do best with about 14-18 hours of light, so once your seedlings start to sprout, put them under a grow light. A heat mat is no longer necessary once the seedlings have started to grow; room temperature (around 65 degrees) is ideal. - Transplant into Larger Containers
When your seedlings outgrow the tray, you need to transplant them into something larger. Styrofoam cups with drainage holes punched in the bottom are a cheap, easy option. Any 3 to 4-inch pot works just fine. Some pots are biodegradable so you can plant them directly in the ground without disturbing the plant's roots. - Get Plants Accustomed to the Outdoors
You don't want to shock your tomato plants and possibly kill them by fully exposing them to the elements. Gradually introduce tomatoes to the outdoors by a process called “hardening off”. Start slowly by leaving plants outside for a few hours at a time in a shaded area during a warm time of the day. Increase the time your plants are outdoors each day, allowing them to steadily get acquainted with more sunlight. Keep doing this for about two weeks, and then you should be ready to plant outdoors. Placing your plants in a cold frame makes it even easier to harden them off. - Prepare Your Garden Bed
Start prepping your garden's soil during the time you are getting your tomatoes accustomed to the outdoors. Add nutrient-rich compost or an organic fertilizer to your soil to help your tomatoes thrive. Tomatoes love warmth! Lay down black or red plastic mulch to preheat the soil and block weeds. Use raised beds or grow in containers to have even more control of your soil with less weed worries. - Plant Those Tomatoes—and Plant Them Deep!
For the best root system, plant your tomatoes deep into the ground, with about 2/3 of the plant buried. Roots will sprout along the buried stem and strengthen the plant — which means it can support more tomatoes! If you don't want to dig as deeply, you can plant your tomatoes on their sides. This helps them develop a larger root ball and makes the plant stronger. With either method, just be sure to remove the leaves that would be buried to prevent rot. Simply cut holes through your plastic mulch and place plants far enough apart that you can easily walk around them when they grow to full size. - Be Prepared for Cold Temperatures and Frost
Spring can be an unpredictable season. Just when you think the temperature is staying warm for good, the weatherman is informing you of an overnight frost. No worries! Row covers or individual plant protectors should keep your plants safe if the temperature decides to unexpectedly drop. These also help protect your plants from harsh winds and garden pests. - Water Your Plants Regularly
Although it can vary depending on your climate and conditions, it is generally recommended to give your plants an inch of water once per week. There are several different options for watering. You can use a hose or wand and direct water exactly where you want it. Sprinkler systems can be used, but it would be best to setup a rain gauge to make sure you're not overwatering. Plus, it will come in handy if it does rain, so you'll know whether or not your plants need any additional water. A soaker hose or drip irrigation system evenly and sufficiently waters your plants while reducing overall water usage. This also keeps the leaves dry by only watering the base of the plant, reducing chances of fungal infection. For low-maintenance watering, use a timer with your watering system and let it do the work for you! - Give Your Plants the Support They Need
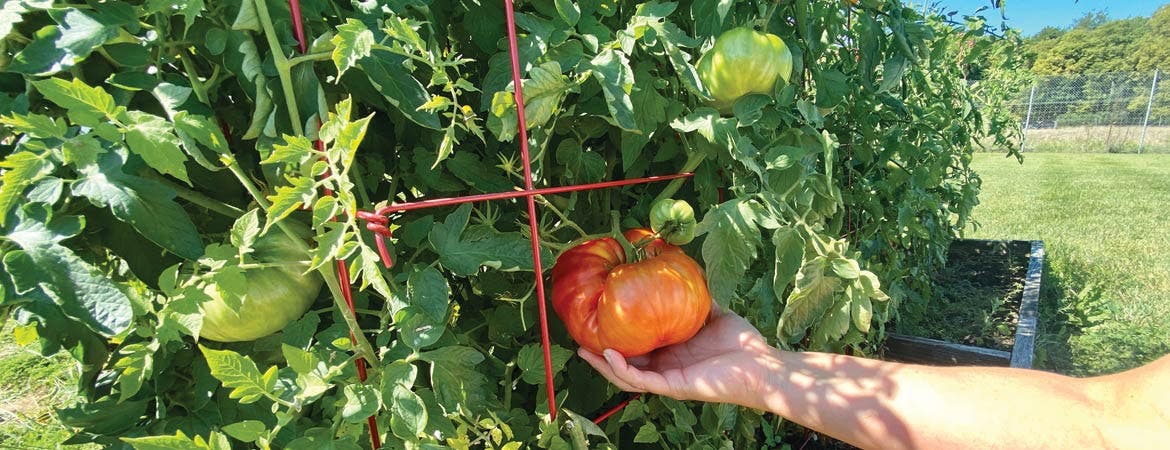
Keep your fruit clean and off the ground, while reducing the chance of rot and slug damage, with good plant supports. Tomato cages and staking systems also allow you to grow more tomatoes in a smaller space, provide better sun exposure, and make harvesting easier with less bending and kneeling. - Fertilize Once Plants are Well-Established
Your plants are putting out a lot of effort to grow strong and tall, and to produce big, juicy tomatoes. Give those hungry plants a little help by adding fertilizer. Once you start to see tomatoes form, add fertilizer around the base of the plant. This can usually be repeated around every 2-3 weeks, but read the fertilizer instructions to know for sure. - Don't Forget to Prune!
Tomato plants can get something known as “suckers” between the central stem and its branches. Suckers can drain energy from the rest of the plant and make your plant top-heavy if they bear fruit. Some gardeners pinch and remove suckers which can lead to fewer, but larger tomatoes. You can also thin leaves when tomatoes are ripening, just don't get carried away. They help protect your tomatoes from sun damage while they are younger and are what gives tomatoes their flavor.
Keep an eye on your developing tomatoes. Once they turn a solid color all over, you can begin harvesting and start enjoying your homegrown, delicious tomatoes!